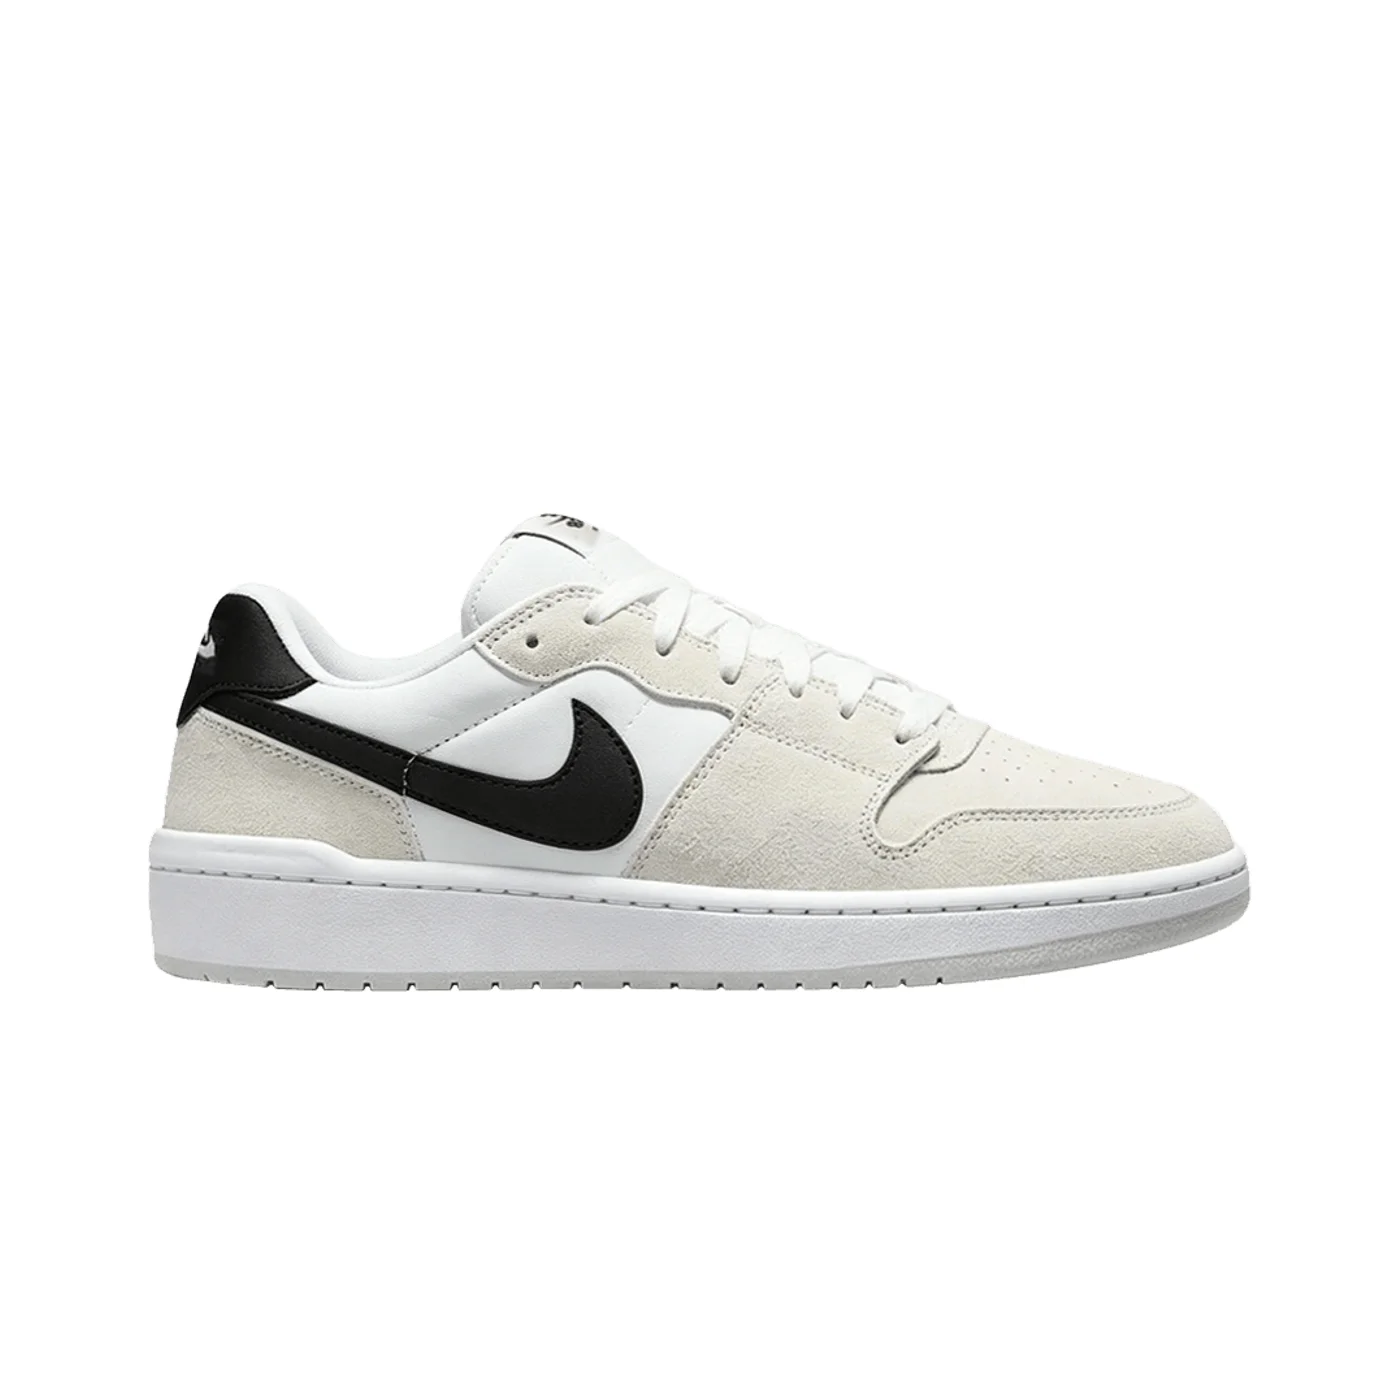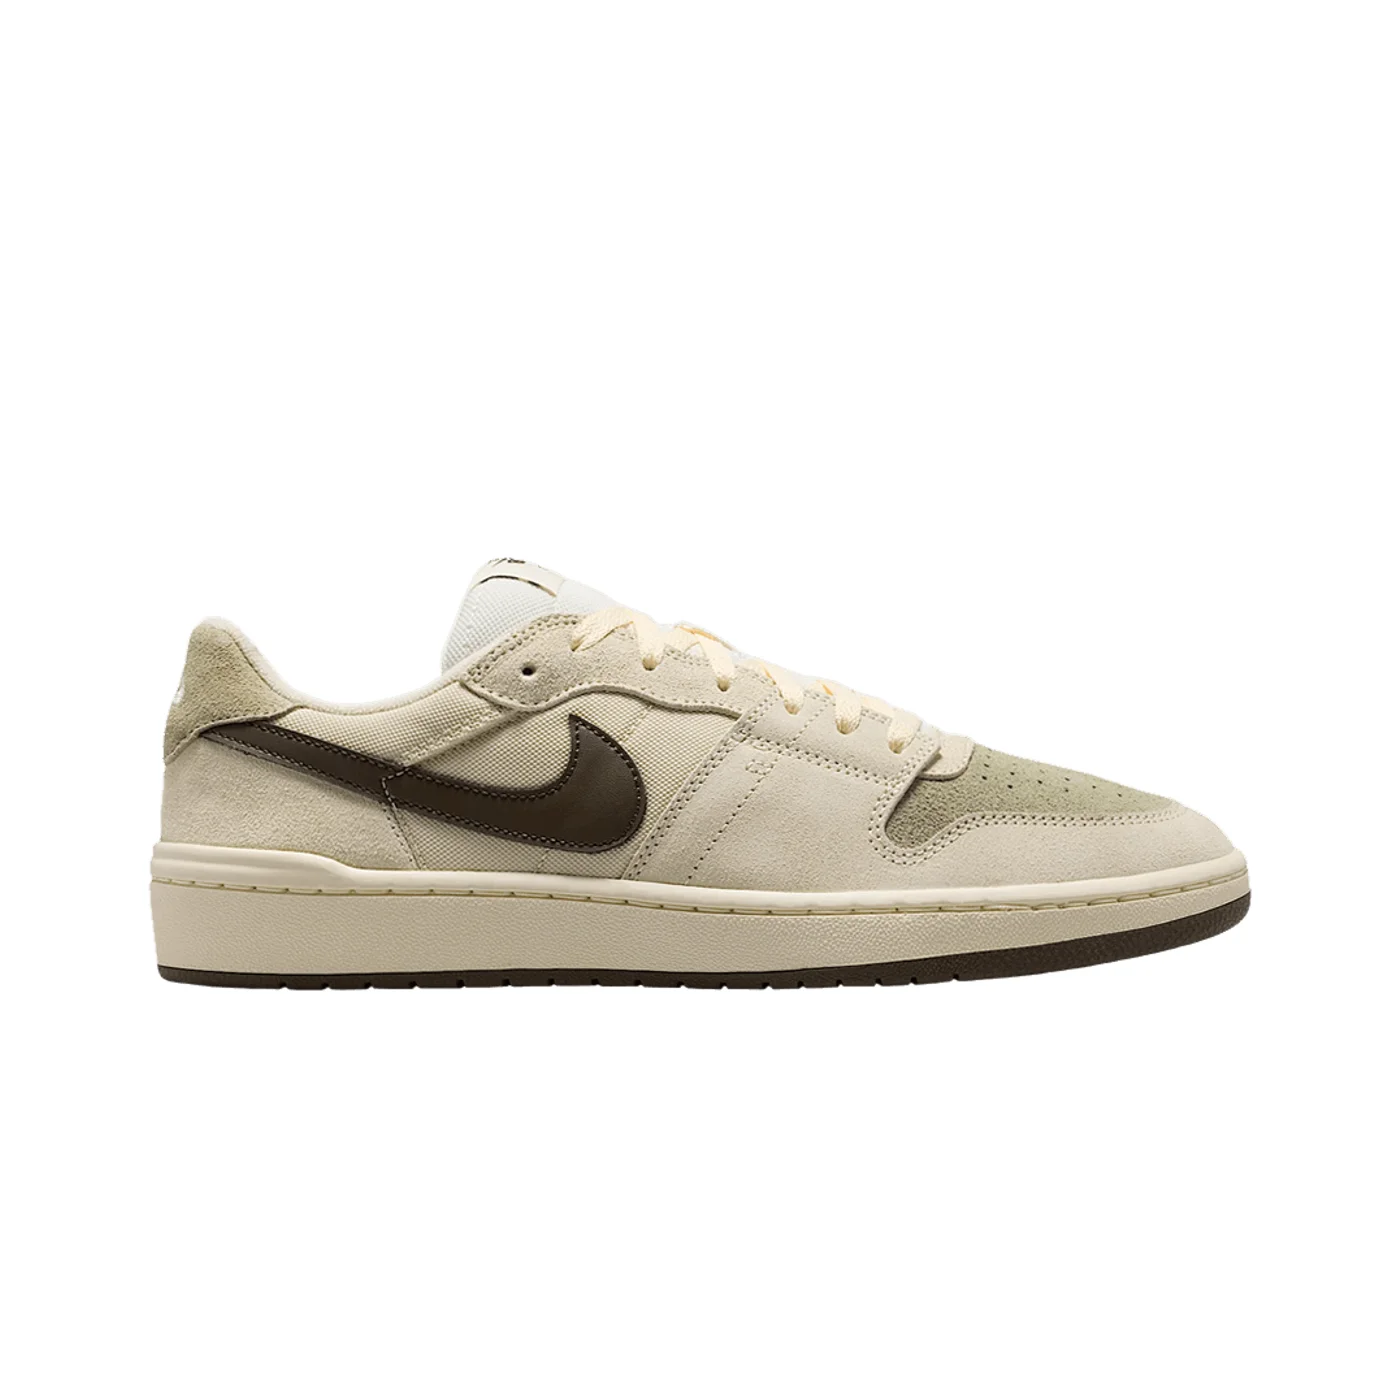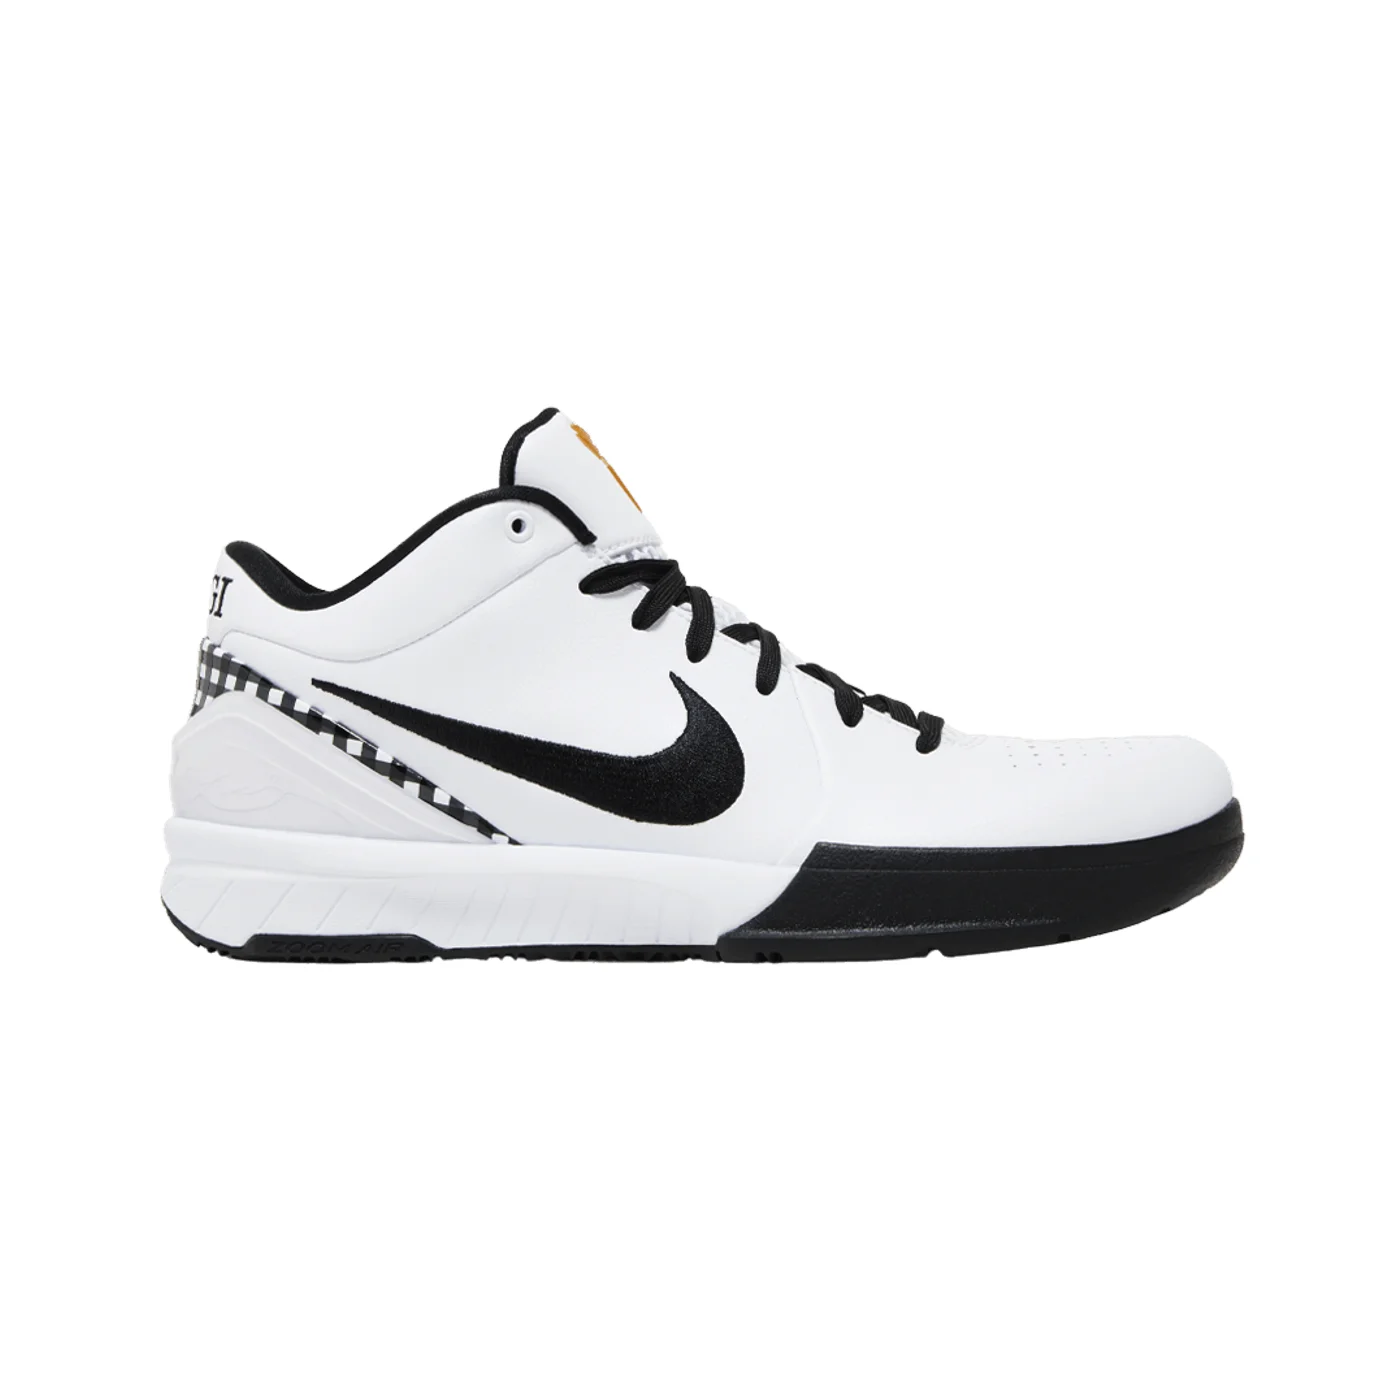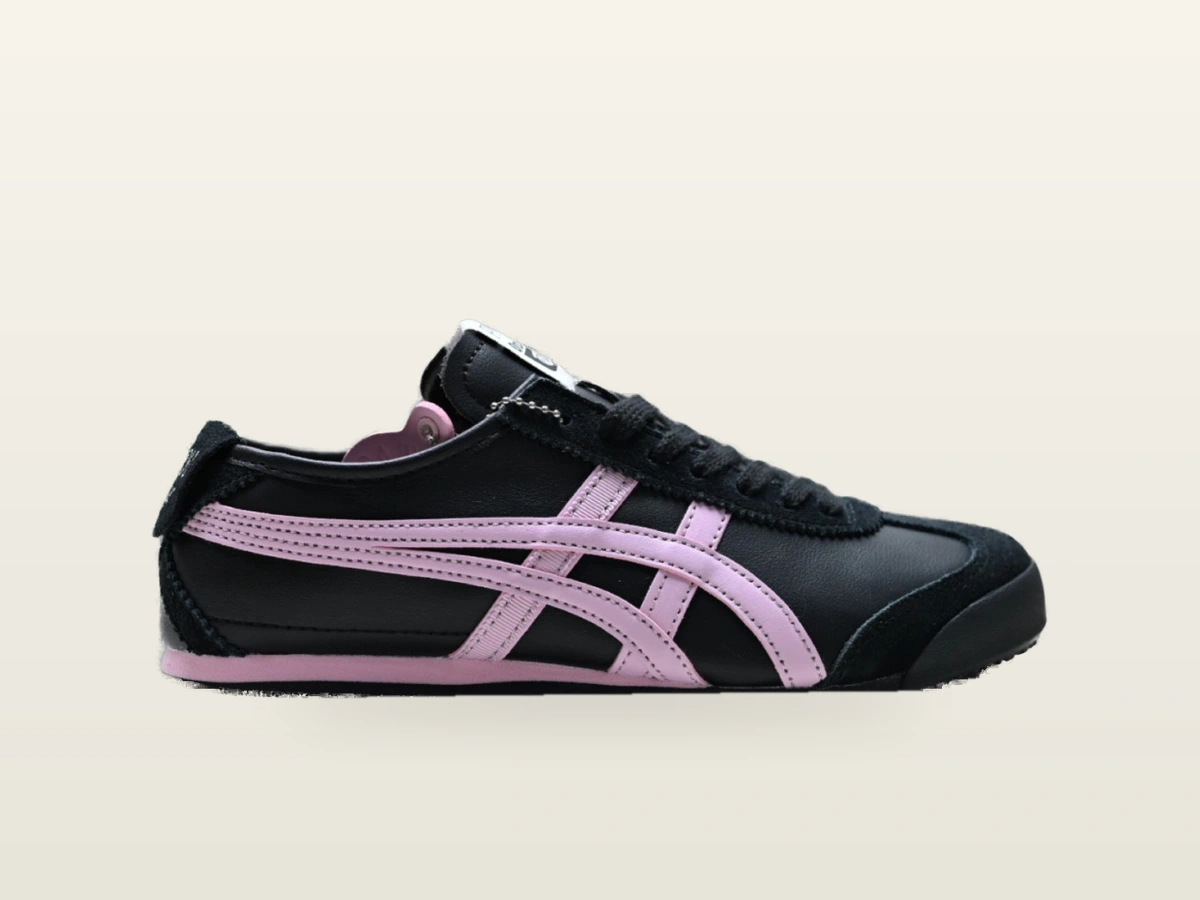
Why Pre-Shipment Quality Control (QC) is Crucial for Footwear Sourcing
When sourcing top-tier 1:1 footwear across borders, pre-shipment inspection (QC) is your strongest safeguard. In mass market rep transactions, low-tier middlemen frequently engage in "bait-and-switch" tactics—advertising top-tier PK or LJR batches while shipping budget canal-street pairs. At ETRIP, our QC inspection process acts as your personal eyes inside the workshop. Before any parcel is sealed and assigned an international tracking number, you receive a complete set of high-resolution macro photos taken under neutral, unedited lighting. This guide walks you through the exact checklist our veteran authenticators use daily.
The 4 Essential QC Angles You Must Check
A reliable QC set must never consist of blurry angled glam shots. You need clean, straight-on perpendicular perspectives:
- Top-Down Aerial View (Toebox & Tongue Symmetry): Examine the perforations on the toebox. They should form neat, parallel rows. Ensure the left and right shoe toeboxes are evenly shaped without one side sloping inward.
- Medial & Lateral Profile Views: Look closely at the Swoosh or brand logo placement. The tip of the logo should point directly towards the designated eyelet, and the distance between the sole line and the lower curve of the emblem must match on both shoes.
- Rear Heel View (Hourglass Silhouette): High-tier retro silhouettes must exhibit a distinct "hourglass" taper—narrowing at the ankle collar before flaring out slightly at the heel counter. A completely straight, boxy cylinder indicates a cheap, low-grade shoe last.
- Inside Size Tag & Footbed Stitching: Examine the font weights and UPC code spacing on the inner size tag. Remove the insole: genuine master batches feature neat, tight Strobel board stitching with evenly spaced 45-degree angle threads.
Suede Nap, Leather Tumble & Paint Tolerances
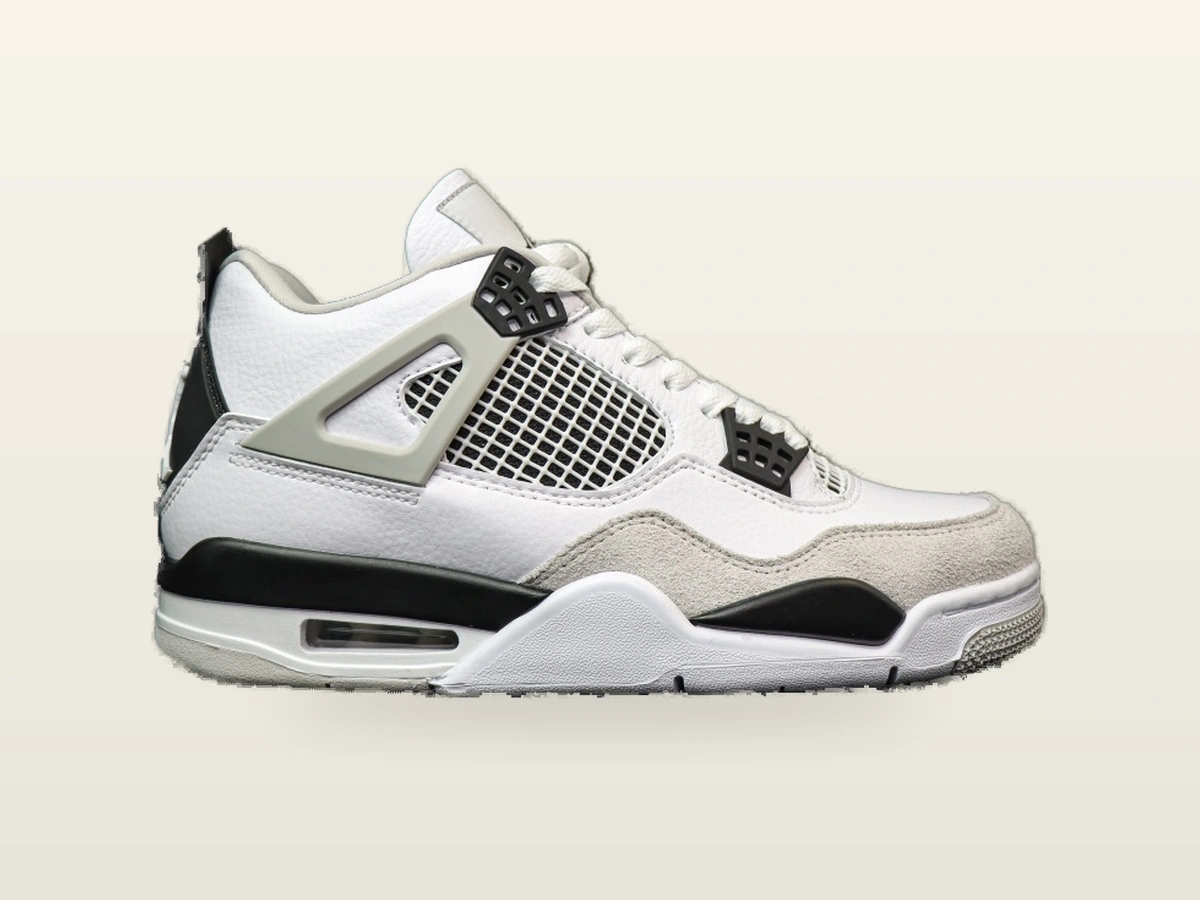
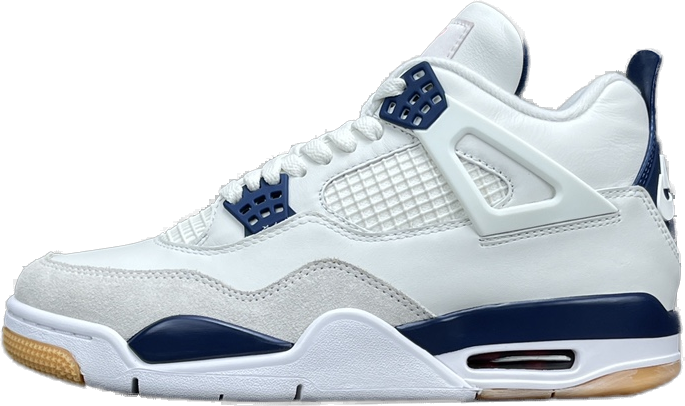
One of the most common questions international buyers ask is whether suede "movement" is visible on camera. On premium nubuck models (such as Travis Scott Lows or AJ4 Military Blues), rubbing your finger across the surface should leave a visible shade contrast trail. If the surface appears flat and plastic-like with zero shade deviation, the factory used synthetic PU instead of genuine split cowhide.
Furthermore, small glue residues along the seam between the upper and the vulcanized outsole are common even on retail pairs sold in flagship boutiques. The true hallmark of 1:1 craft is cleanly bevelled leather edges, consistent double-row stitching, and accurate toe-box thickness.
GL vs RL: When Should You Approve or Reject?
In sneaker rep terminology, GL (Green Light) means you are satisfied and approve shipment, while RL (Red Light) means you spotted a defect and request an exchange.
- Acceptable (GL): Minor uneven stitching thread (under 1mm), tiny glue residue washable with alcohol, or natural leather micro-creasing from factory lacing.
- Unacceptable (RL): Noticeably slanted heel embroidery, mismatched leather shades between left and right shoes, upside-down tags, or asymmetrical toebox height.